Configure an e-mail account in iPhone
Configure your e-mail account in your iPhone is very simple, follow our instructions and you'll have your e-mail account configured correctly in only a few minutes:
- Create your e-mail account, follow this steps to do it: How do I create email accounts?
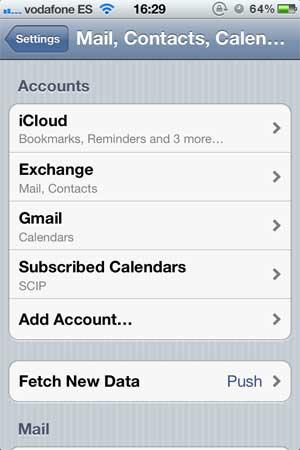
- Now that you have you own e-mail account go to your iPhone settings and press "Mail, Contact, Calendars".

- Press "Add Account...".
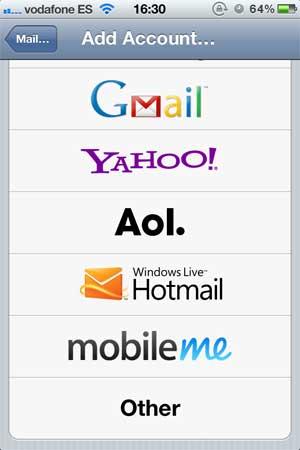
- Now, press the last option: "Other".
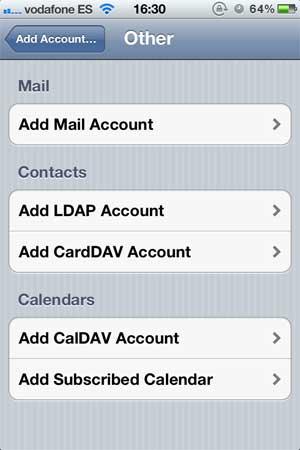
- Press the "Add Mail Account" option.
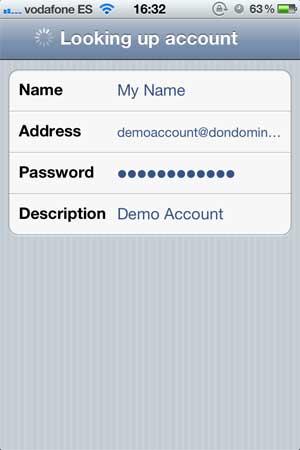
- Now you have to configure your account, you'll need to write the name that appears when sending e-mails, the complete e-mail account you're configuring, the password you've chosen and a description.
- Configure the incoming and outgoing e-mail servers:
Incoming Mail Server:
Hot Name: imap.yourdomain.com (change "yourdomain.com" with your registered domain).
User Name: The complete e-mail account.
Password: The chosen password.
Outgoing Mail Server:
Host Name: smtp.yourdomain.com (change "yourdomain.com" again).
User Name: The complete e-mail account.
Password: The chosen password.
Press "Next"
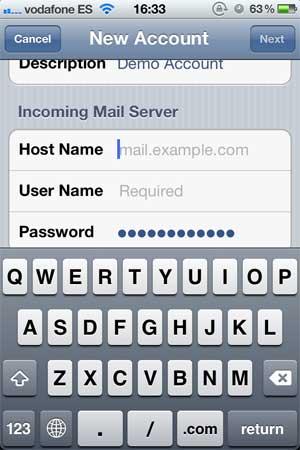
- Now your iPhone will proceed to the verification of the submitted data, showing the following:

- The message "Cannot Verify Server Identity" will appear twice, simply press the "Continue" button.

- That's it! You completed the account configuration, simply press the "Save" button.
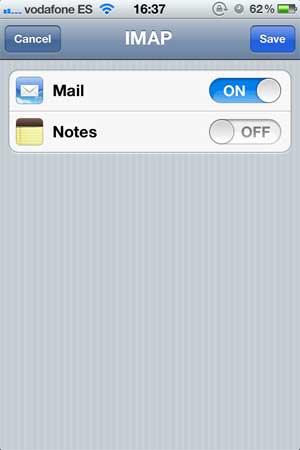
- Now go to the Mail app and you'll be able to receive and send your e-mails from your iPhone.


